3D Printed Sandman Dream Cosplay
June 08, 2023
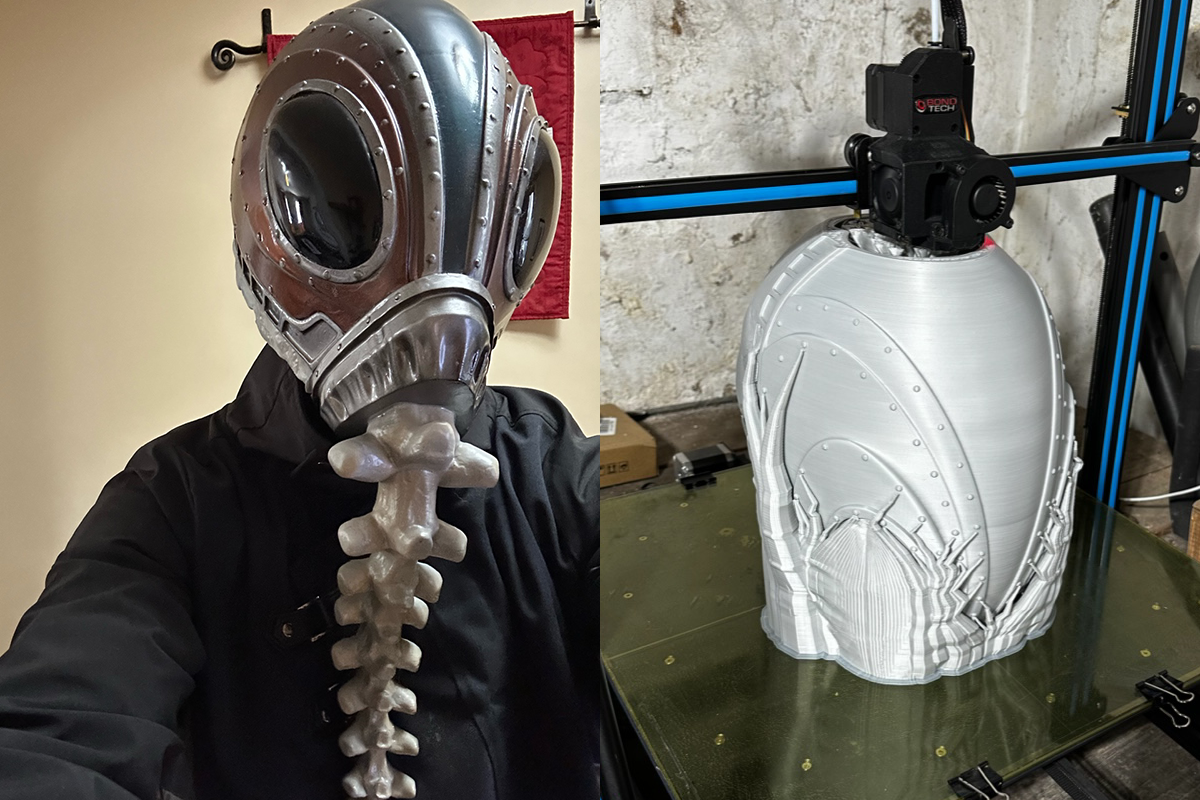
Our friendly Kilted Mandalorian and “Serial Kilter”, Dan Simon, has done it again. This time, creating a fantastic Sandman Dream cosplay piece. The design for the Dream helmet (by the awesome Marko Makaj) had three main portions to be printed: the main helmet, the nosepiece, and the spine.

Dan shares, “The spine mounts into a recessed area on the nosepiece (affixed with an inordinate amount of E-6000 glue to ensure that it's not going anywhere), and the nosepiece is joined to the helmet by three large bolts (also 3D printed).”
Check out Dan's process, his struggles, and his thoughts on the creation of this new piece below in his own words… which are often entertaining enough on their own.
Creating the 3D Printed Sandman Dream Cosplay Helm as Written by Dan
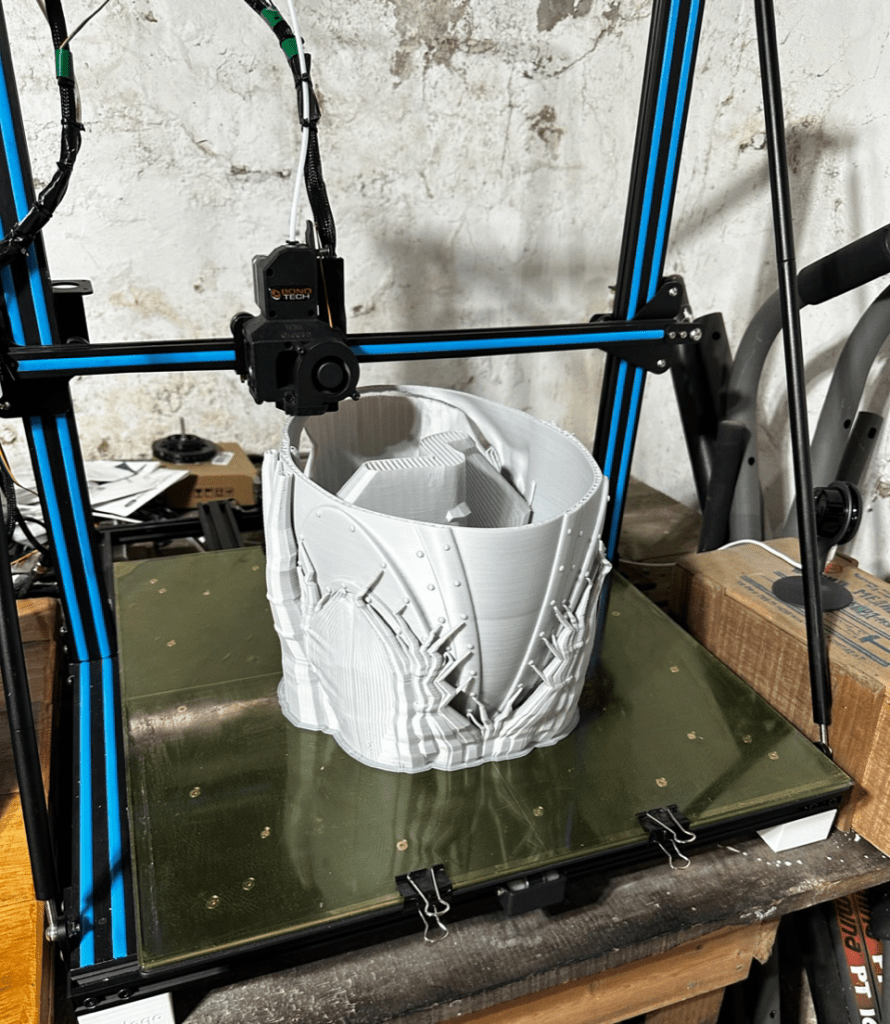
I started the whole process by printing the main Dream helmet (of course) — a whopping 11.5-day long print job.
The 3D printer I used for this, the Creality CR10-S5, while huge, is not what you would call “fast”…or “easy”….or “reliable.”
Turns out that during a long print run, the CR10-S5 will slowly loosen the fixed bolts that lock the print bed down. It also turns out that when the bed is loose on the printer, the thermocouple that checks the bed temperature starts getting a bit…erratic. When the thermocouple gets erratic enough in its readings, a little setting in the printer's firmware kicks in and goes into a panic (ending the print) since it thinks the bed's heating element has gone rogue and is going to kill us all. This will inevitably happen in the last 10 hours or so of the 11.5-day print and cause an inordinate amount of swearing to occur.
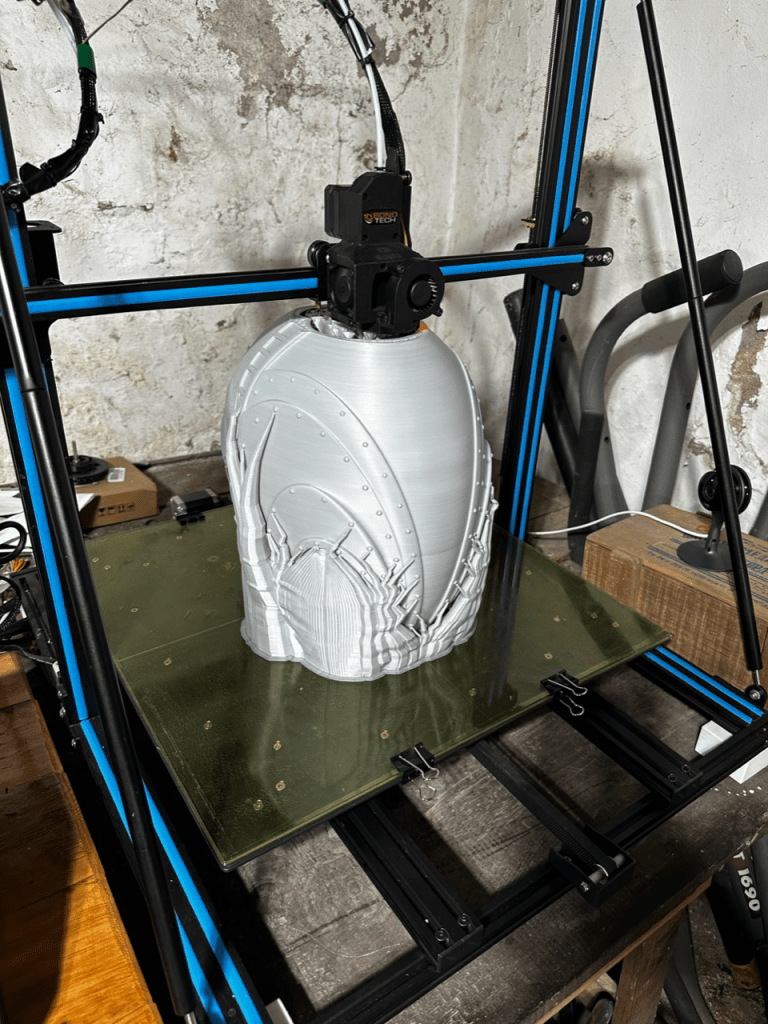
Lesson learned: aligning the helmet with the build plate in an easily repeatable way can help you overcome even the most stubborn of printer malfunctions. Using the nearly-finished helmet as a guide, I pulled up the slicing software and sank the model into the build plate until it was as close as I could bring it to the point that the print cut off. Slice, queue up the printer, and finish the top of the dome. Glued the whole thing together and breathed a sigh of relief (with just a little more swearing when I realized that my hand was superglued to the helmet…again).

The remainder of the pieces for this Sandman Dream cosplay helm were printed **without issue.
**OK, this is a lie. The heatbreak — the part that connects the heatsink to the heating element — snapped when printing the spine. Big mess, lots of swearing, lots of cleanups, and a couple of new parts ordered through Amazon.
The fully assembled helmet was coated liberally in XTC-3D. It turns out that coating anything liberally in XTC-3D can cause some dripping as the epoxy dries. More swearing was involved here, though my heart wasn't really in it. Nothing that a “little” sanding couldn't fix, so operations moved on to masking…and painting…and more masking (lather, rinse, repeat…wipe hands on pants).

A note for those that don't like seeing their fresh coat of paint peel off when removing masking tape: allow the paint to fully cure before applying more masking. If you're truly paranoid (like yours truly), spray all painted areas with a layer of clear coat before masking — the clear coat will ensure that nothing peels off and protects your newly painted surface.

While waiting for the paint to dry, I started working on the lenses. A vacuum former makes the job super simple, especially since Marko was kind enough to include designs for the lens forms for exactly this application. The only problem I ran into here was that I don't have a vacuum former. What I do have is an acrylic welding shied, a heat gun, and what my wife refers to as “blacksmith hands” (I tend to pick up strange hobbies). Acrylic welding shields would appear to require a significant amount of heat to become pliable enough to press over the form by hand. I recommend wearing more than the leather gloves I chose if you don't want to poach yourself too much.

As luck would have it, a combination of metallic silver, black, phthalo blue, and color-shifting acrylics give a pretty good approximation of a “midnight sky.”
Learn More About 3D Printing and Cosplay
If you happened to miss the very first episode of our podcast and video series 3D Universe Untethered and would like to check out how Dan made his 3D printed Kilted Mandalorian armor as well as hear how fellow cosplayer Dave Lysen teamed up with 3D printed e-NABLE Prosthetics co-inventor, Ivan Owen and 3D Universe's Jeremy Simon and Dan Pelland to create a K-2SO Cosplay project with functional 3D printed mechanical hands, check out the video above!
If that doesn't satisfy your inner cosplay nerd, check out our video of our interview with Volpin Props and get yourself inspired. You can watch that episode in the video below!
As you can see, there are multiple ways in which you can use 3D printing to make killer cosplay and costume designs and props. It's just a matter of deciding which 3D printer and filament you want and trying to figure out which thing you want to make first, especially when you realize you want to “MAKE ALL THE THINGS!”
Learn More About 3D Printers and Vacuum Formers

Want to know more about the different types of 3D printers that are available, which ones can be used to build large pieces for costuming, and what materials work best?
Curious how you can use a desktop vacuum former like the Mayku FormBox or the Multiplier to make prototypes and finished pieces for your cosplay costumes?
Check out our 3D printers, 3D forming machines, and our materials pages, or feel free to email us at info@3duniverse.org!
Written By Jen Owen

Related Articles
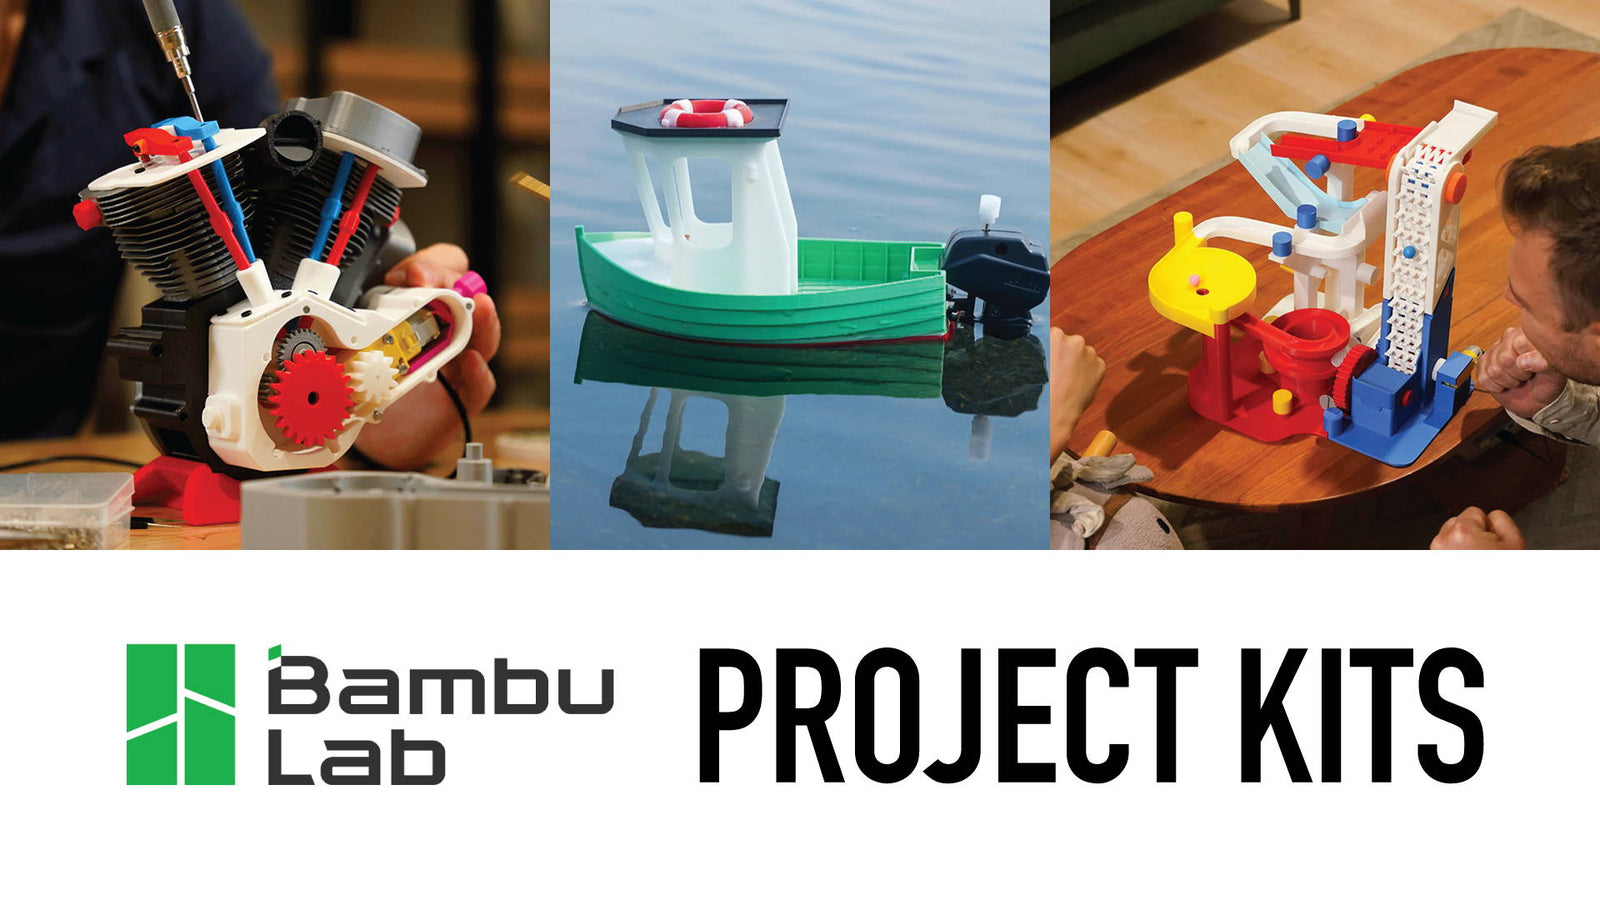
Bambu Lab Maker Kits Provide Fun Projects for Kids and Adults Alike!
Apr 11, 2024
We are excited to share that we are now stocking Bambu Lab Maker Kits at... More
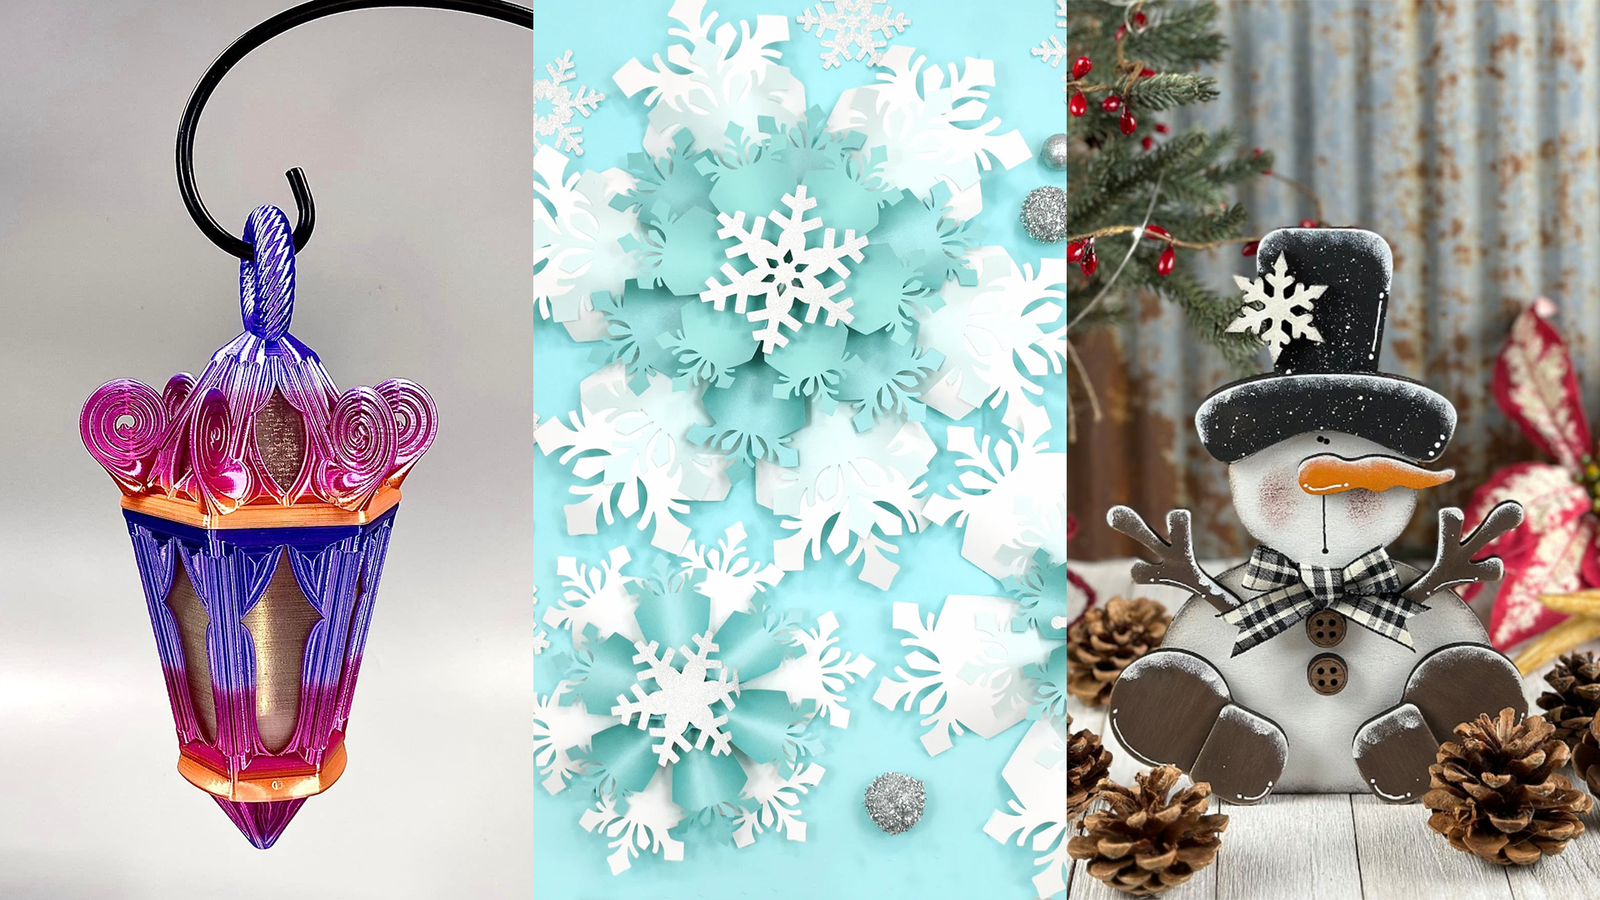
Laser Cut and 3D Printed Holiday Decoration Ideas for 2023
Nov 27, 2023
It's that time of year again! Time to fire up your 3D printers and laser... More
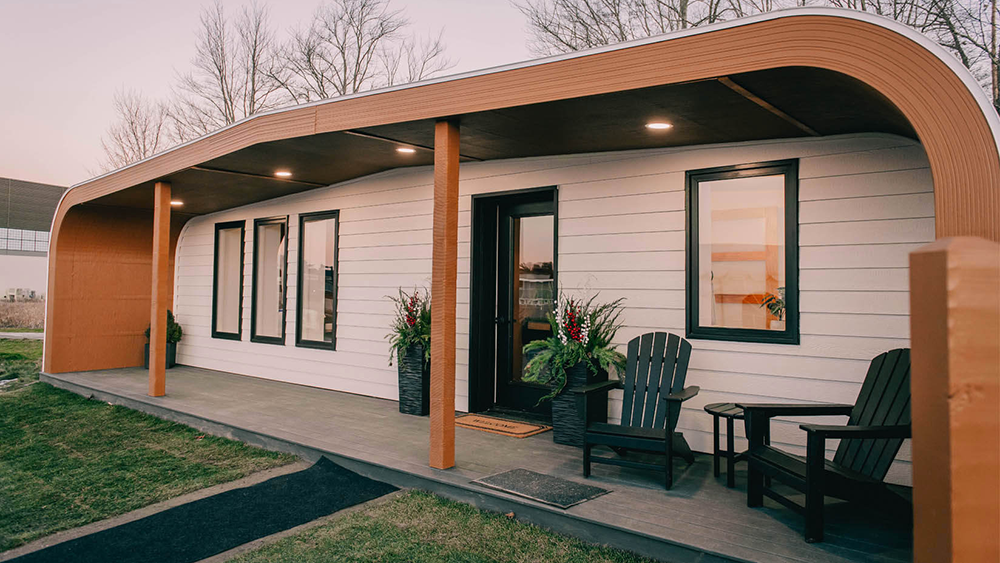
3D Printed Architecture - Safe, Affordable and Eco-Friendly
Oct 20, 2023
For the past few years, we have seen a boom in 3D printed architecture sprouting up... More
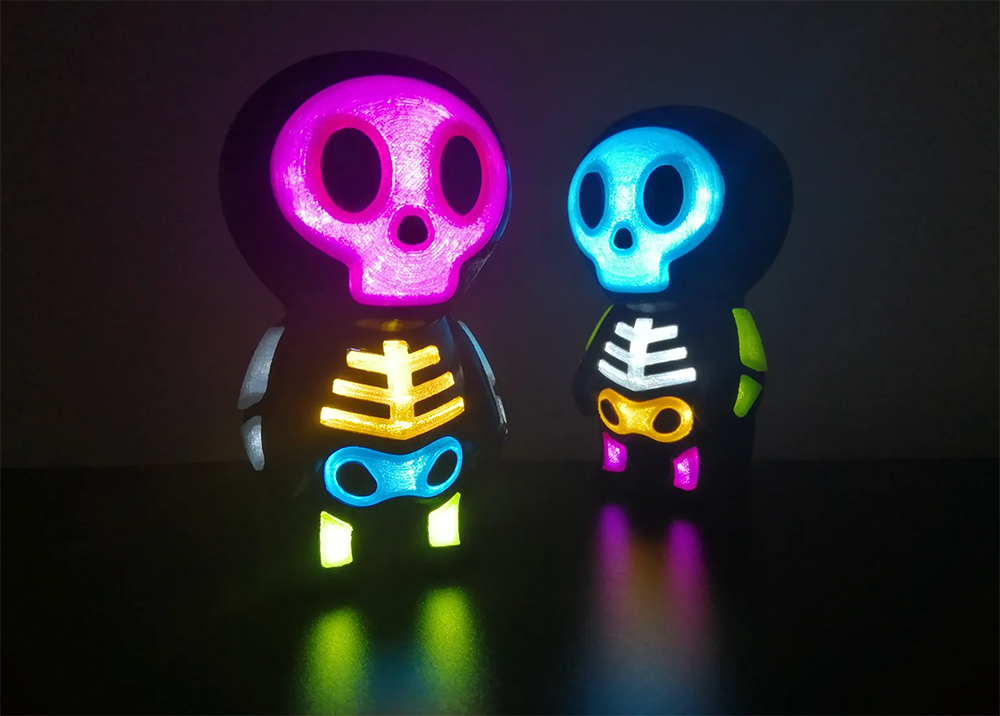
Halloween 3D Prints, Laser Cut and Thermoformed Designs!
Oct 10, 2023
It's spooky season again and the perfect time to fire up your 3D printers, thermoformers... More
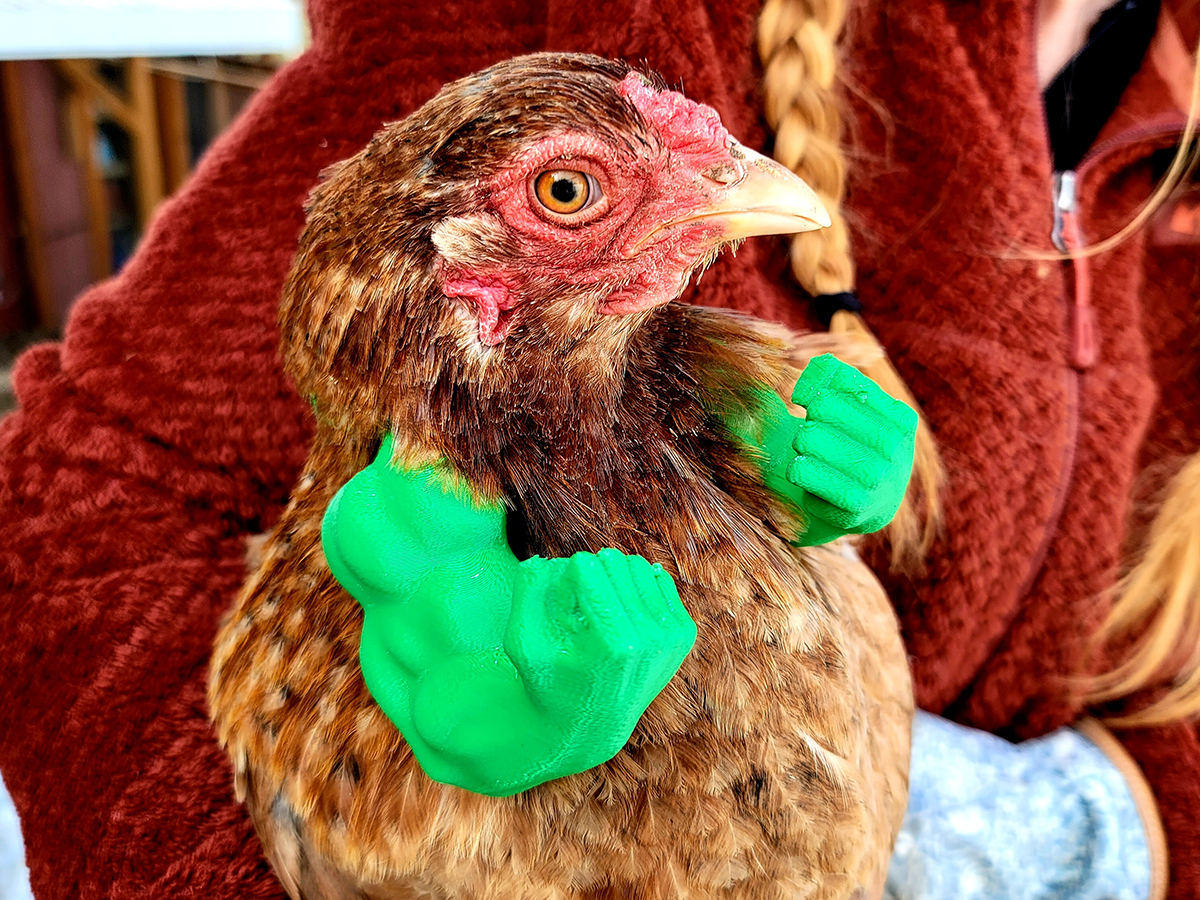
3D Printed Arms For Chickens?
May 18, 2022
I was recently invited to go house and dog sitting for some friends of mine... More
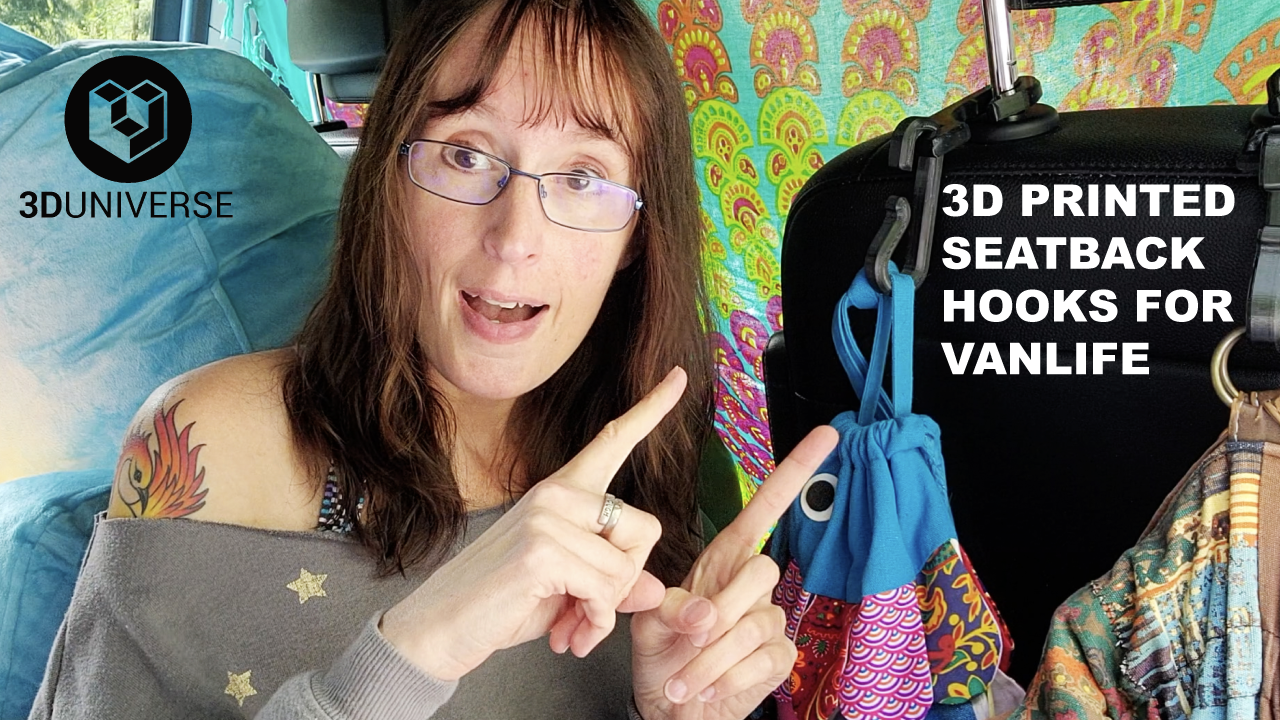
3D Printed Seatback Hooks | Vanlife
May 07, 2021
A few months ago I traded my tiny Kia Forte in for a Dodge Grand... More
Search All Articles
Latest Posts From Digital Fabrication Projects
All Blog Categories
-
3D Universe Untethered Video Podcast Series
-
Digital Fabrication in Education
-
Digital Fabrication Projects
-
Digital Fabrication Tutorials, Tips, and Tricks
-
Slicing Software
-
3D Printing Materials
-
Case Studies
-
Digital Fabrication Products
-
3D Forming (Vacuum Forming & Pressure Forming)
-
Laser Cutters
-
Digital Fabrication in the Workplace
-
3D Printed Prosthetics and Assistive Technology
-
3D Modeling (CAD)
-
Digital Fabrication in the News


